
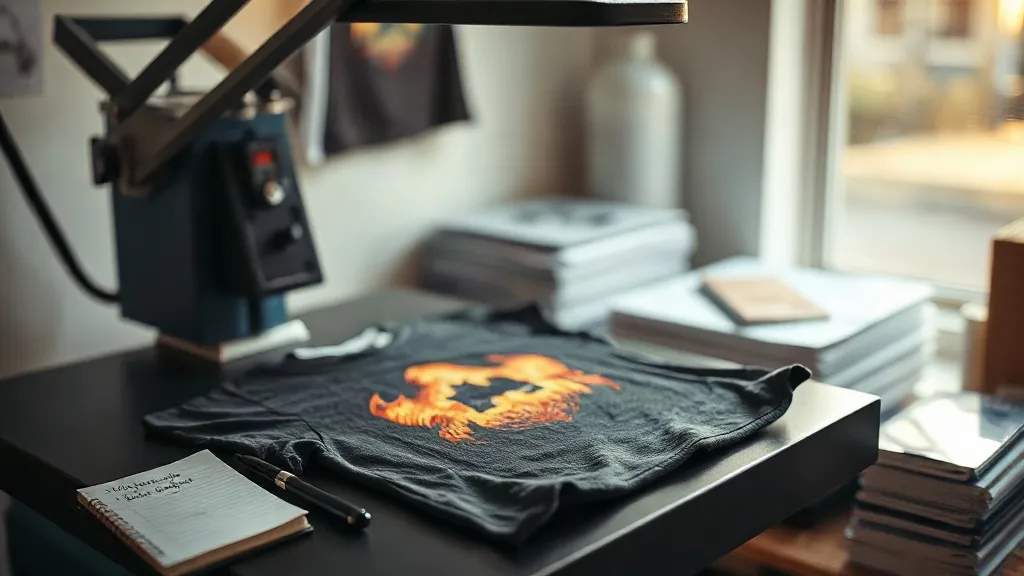
You peel a shirt off the press, and the design comes away at one corner. Or the edges look melted into the fabric while the center feels flat and dull. You check the film, swap the powder, buy a fresh batch of ink, and the same problem shows up three shirts later. In my experience running a small shop, the culprit is almost never the material. It is the press settings, and specifically the way temperature, pressure, and dwell time interact with each other. Once you learn to read the failure signs, dtf transfers stop being a guessing game and start behaving like a reliable production method.
This guide is about troubleshooting press settings, not about the basics of what dtf transfers are. If you already have a press, film, and powder, you have everything you need to fix the prints that keep failing. Let's walk through the symptoms, the causes, and the exact adjustments that worked for me.
Why Press Settings Matter More Than You Think
A dtf transfer is a layered structure: a printed ink image, a white ink base, and a thermoplastic powder adhesive that melts and bonds to fabric. Each layer responds to heat differently. The powder needs enough temperature and time to melt fully, but too much heat scorches the film and degrades the ink. Pressure pushes the melted adhesive into the fabric fibers, but too much pressure flattens the print and squeezes adhesive out past the edges.
That narrow window is why the same settings can work perfectly on a cotton tee and fail on a polyester blend. The press is not a single dial you set and forget. It is a system of three variables that must work together, and when one is off, the others cannot fully compensate.
The three variables and what each one does
- Temperature melts the powder and activates the adhesive. Too low and the powder stays granular, so the print peels. Too high and the film curls, the ink blisters, and the fabric can scorch.
- Pressure drives the melted adhesive into the fibers. Too light and the print sits on the surface, ready to crack. Too heavy and the design flattens, adhesive bleeds, and the hand feel turns stiff.
- Dwell time gives heat and pressure time to do their work. Too short and the powder never fully melts. Too long and you overcook the print, which weakens the bond over time.
Reading the Failure Signs
Before you touch a dial, look at how the print failed. Each failure pattern points to a specific setting, and chasing the wrong one wastes film and time. Here are the patterns I see most often and what they usually mean.
Peeling at the corners or edges
Corner peel is the classic sign of uneven pressure. If one corner lifts while the rest of the print holds, the platen is not level or the garment is not sitting flat. Check the platen surface for buildup, make sure the shirt has no thick seams under the design, and confirm the press closes evenly. A quick test: press a sheet of paper on the platen and see if the indent is uniform across the surface.
If the entire print peels, the cause is usually temperature or dwell time, not pressure. The powder did not fully melt, so the adhesive never bonded. Raise the temperature slightly or add a few seconds and test on a scrap shirt before running a batch.
Cracking after the first wash
A print that looks fine on the press but cracks after washing is a pressure problem. The adhesive bonded to the surface of the fabric but did not penetrate the fibers. Light pressure leaves the print sitting on top, and the first wash cycle flexes it until it breaks. Increase pressure gradually and check the hand feel. If the print turns stiff and shiny, you went too far.
Stretch fabrics make this worse. On a poly blend, the fabric moves under the print, so the adhesive needs to grip the fibers rather than sit on top of them. A slightly longer dwell time with moderate pressure handles blends better than high heat and light pressure.
Dull, patchy, or washed-out prints
Patchiness usually means the heat is not reaching the whole design evenly. Thick seams, doubled fabric, and pocket edges all create high spots that block contact. Reposition the design away from seams, or use a pressing pillow to level the surface. If the whole print looks dull, the temperature may be too high and the film is scorching before the powder melts.
Adhesive bleeding past the design edges
When you see a shiny halo around the print, the pressure is too high or the dwell time is too long. The melted adhesive spreads outward instead of bonding into the fabric. Back off the pressure first, then reduce the dwell time if the halo persists. This is especially common on thin, lightweight shirts where the fabric compresses easily.
Building a Baseline You Can Trust
Every press runs a little differently. A digital press may read 160°C but deliver 150°C at the platen, and a clamshell press distributes pressure differently than a swing-away. That is why copying settings from a forum is a recipe for frustration. Build your own baseline on the fabrics you actually use.
A simple calibration routine
- Start with a mid-range temperature and moderate pressure, then press a test transfer on a scrap of your most common fabric.
- Peel while warm and check the edges. If they lift, add five seconds to the dwell time.
- Wash the test shirt after 24 hours and inspect for cracking. If it cracks, add pressure in small increments.
- Record the settings that worked, along with the fabric type and the press you used. Keep this log near the press.
This routine takes about half an hour and saves hours of reprints. Once you have a baseline, you can adjust for new fabrics by moving one variable at a time instead of changing everything at once.
Adjusting for fabric weight and blend
Heavy cotton needs more heat penetration, so a slightly longer dwell time helps. Lightweight polyester needs lower temperature to avoid scorching and a shorter dwell to prevent adhesive bleed. Blends fall in between, and they are the fabrics where press settings matter most. If you find yourself searching for dtf transfers near me because your current supplier's film keeps failing, the film may not be the issue at all. Run the calibration routine before you switch suppliers.
Common Press Mistakes That Cause Repeat Failures
Some problems are not about the numbers on the display. They come from how the press is used day to day, and they cause failures that look like setting problems but are really workflow problems.
- Pressing on a cold platen. The first shirt of the day often fails because the platen absorbs heat. Let the press stabilize for a few minutes and press a sacrificial shirt first.
- Forgetting to re-level after moving the press. A press that gets bumped or rolled across the shop can go out of level, and the pressure becomes uneven without any change to the dial.
- Stacking garments under the design. A thick seam or a folded hem creates a high spot that blocks contact. Flatten the area or move the design.
- Peeling too early or too late. Follow the film manufacturer's peel recommendation. Peeling cold when the film calls for warm peel can tear the print or leave adhesive behind.
- Ignoring humidity. Damp film and powder behave differently, and the press settings that worked in dry weather may fail in a humid shop. Store film and powder sealed and dry.
When to Change the Settings and When to Change the Material
Not every failure is a press problem. If you have calibrated the press, confirmed even pressure, and the print still peels across the entire design, the film or powder may be the issue. Old film, damp powder, or a bad ink batch can all cause failures that mimic setting problems. The key is to eliminate the press first, because it is the variable you can control and adjust in minutes. Once the press is ruled out, test a fresh batch of film and powder on the same fabric with the same settings.
Keeping a simple log of settings, fabric, and results turns troubleshooting from guesswork into a repeatable process. After a few weeks, you will know exactly which settings work for each fabric in your shop, and the failures will drop to almost nothing.
Frequently Asked Questions
What temperature should I use for DTF transfers on cotton shirts?
Most films work in a range around 150 to 165°C, but the exact number depends on your press and the film manufacturer's recommendation. Start in the middle of the range, calibrate on a scrap shirt, and adjust based on peel and wash results rather than trusting the display alone.
Why do my DTF transfers peel at the edges but hold in the center?
Edge peel almost always points to uneven pressure. Check that the platen is level, the garment is flat, and there are no seams or folds under the design. A quick paper test on the platen will show whether the press closes evenly across the surface.
How much pressure should a heat press use for DTF?
Medium pressure is the usual starting point, enough to press the film firmly into the fabric without flattening the print. If the design turns shiny and stiff, reduce pressure. If the print cracks after washing, increase it slightly and test again.
Can I fix a DTF transfer that already peeled after washing?
Once the adhesive has failed and the print has lifted, re-pressing rarely restores a durable bond. In most cases, the print needs to be removed and replaced with a fresh transfer pressed with corrected settings. Use the failed shirt as a test blank to dial in the new settings before running the replacement.
Does dwell time matter as much as temperature for DTF?
Yes. Temperature melts the powder, but dwell time gives the heat time to reach the adhesive layer and bond it to the fibers. A short dwell at the right temperature can fail just as badly as a long dwell at the wrong one, so adjust both together and test on scrap fabric.