
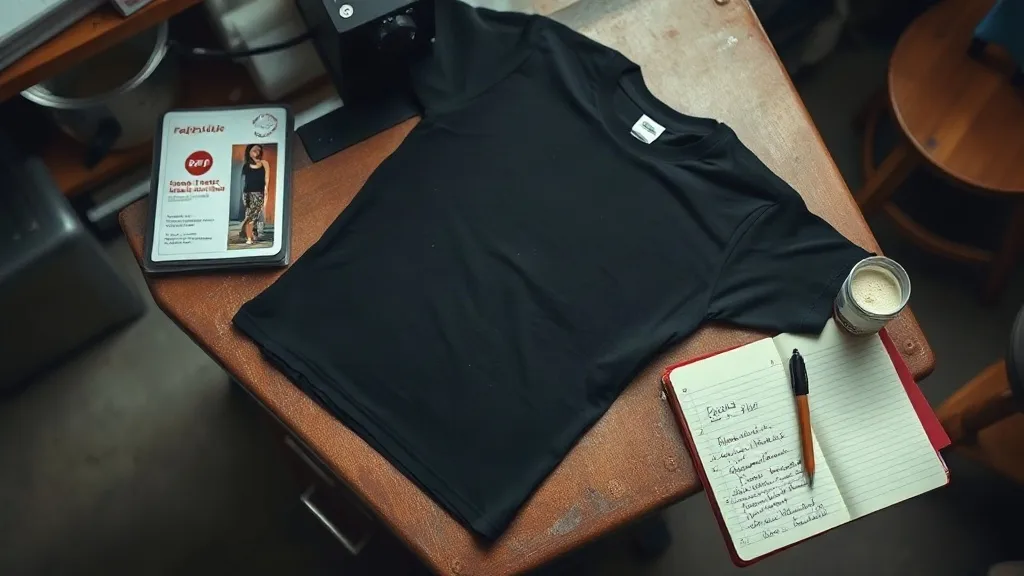
You peel the carrier film back and the design comes with it. Or the print looks fine until the third wash, when the edges start lifting like old wallpaper. If that sounds familiar, the problem probably isn't your press or your supplier. In most small shops I've visited, the same handful of habits cause almost every failed dtf transfers job, and each one is fixable once you know what to look for.
This isn't another walkthrough of the basics. It's a look at the mistakes that don't show up until you're already committed, and the small corrections that make the difference between a print that lasts and one that comes back as a complaint.
Mistake 1: Storing Film Like It's Paper
Powder-based dtf film is more sensitive than most people assume. The adhesive side picks up dust, lint, and moisture from the air, and none of that shows until the powder goes on. A sheet that sat open on a shelf for two weeks can produce patchy, grainy transfers that look like a printer fault when it's really a storage fault.
Keep unused film sealed in its original bag, standing upright rather than stacked flat. Humidity is the bigger enemy in most home setups, so a simple airtight tub with a silica packet does more for print consistency than upgrading your printer. If you live somewhere damp, check film before a big order rather than after.
Why the powder matters just as much
Shake the adhesive powder before every use. It settles, and the bottom of the container ends up with a different particle mix than the top. Uneven powder means uneven adhesion, which shows up first at the edges of a design. Apply in a thin, even layer, tap off the excess, and cure at the temperature your film supplier specifies rather than guessing.
Mistake 2: Pressing Without Knowing the Actual Fabric
Cotton, polyester, and blends all behave differently under heat. A temperature that works beautifully on 100% cotton can scorch a polyester jersey or leave a glossy mark that never comes out. The tricky part is that many garments look identical on the hanger and only reveal their fiber content on the care label.
Before you press anything, read that label. Then run a test on an offcut or an inside seam. It costs two minutes and saves the garment. For heat-sensitive synthetics, a lower temperature with a longer dwell usually beats a hot, fast press.
Pre-pressing is not optional
Moisture trapped in fabric turns to steam under the press and pushes its way through the adhesive layer. That's one of the quiet causes of bubbling and poor peel. A five to ten second pre-press removes that moisture and flattens the fibers so the transfer makes full contact. Skipping it is the single most common shortcut I see, and it's the one that costs the most.
Mistake 3: Treating Pressure as a Detail
Temperature gets all the attention, but pressure decides whether the adhesive actually bonds or just sits on top of the fabric. Too little pressure and the design lifts at the corners. Too much and the print can spread slightly, losing fine detail and picking up a plasticky sheen.
You don't need a gauge to get this right. Press a test piece and look at the result: if the edges of the design look soft or the film peeled with resistance, adjust. Consistent pressure across the platen matters too, so check that your press heats evenly with a simple thermal check before trusting it on a paid order.
- Peel cold for most powder-based films unless your supplier says otherwise
- Let the garment cool flat, not hanging, so the print doesn't stretch
- Re-press with a cover sheet for a few seconds for a matte finish
Mistake 4: Ignoring the Wash Test
Every shop should have a wash-test garment. Print a sample, run it through five or ten normal washes, and see what happens. A print that survives that cycle will survive a customer. A print that starts cracking at wash three was never going to make it, and it's much cheaper to find out on your own sample than on a customer's order.
Wash inside out, in cold water, and skip the dryer on high heat. That's how the print should be cared for, and it's worth telling customers in plain language on a small card tucked into the bag. Most complaints about dtf transfers near me searches come down to care instructions nobody passed along.
Mistake 5: Ordering Transfers Without a Plan
Buying transfers in bulk makes sense until you're stuck with a design that didn't sell. The smarter approach is to order small runs of several designs, see what moves, then reorder the winners in volume. This keeps cash free and lets you test new ideas without committing to a hundred sheets of something nobody wants.
When you're sourcing, check the film type, the powder quality, and whether the supplier ships flat rather than rolled. Rolled film can take a set that makes it harder to lay flat later. A quick look at reviews and a small first order tells you more than any product photo.
Match the transfer to the job
Not every design needs the same film. Fine detail, gradients, and small text benefit from a higher-detail film, while bold blocky graphics are more forgiving. If you're printing names and numbers for a team kit, test one before running the whole set. That single test prevents the most expensive kind of reprint, the one you do on a deadline.
Mistake 6: Chasing Speed Over Consistency
It's tempting to stack jobs and press them back to back. But a press that hasn't recovered its temperature between garments will under-cure the next one, and under-cured adhesive fails quietly. Give the platen a moment to come back to temperature, especially on thicker fabrics that pull heat away.
Write down the settings that worked for each fabric type. A simple notebook or a note on your phone beats memory every time, and it means anyone in the shop can reproduce the same result without guessing.
Frequently Asked Questions
Why does my DTF print crack after a few washes?
Cracking usually points to under-curing or too little pressure during the press. The adhesive didn't fully bond to the fibers, so flexing the garment pulls it apart. Re-check your temperature, pressure, and dwell time, and run a wash test on a sample before committing to a batch.
Can I use DTF transfers on dark and light fabrics?
Yes, and that's one of the format's real advantages. The white ink layer sits under the color, so the same transfer works on both light and dark garments without a separate white underbase step. You do need to adjust press settings for fabric type, but not for color.
How should I store unused DTF transfers?
Keep them sealed, flat, and away from humidity and direct heat. Stack them with the carrier side protected and avoid folding, since creases can show up in the final print. Film stored properly stays usable for a long time, so there's no need to rush through a bulk order.
What's the difference between hot peel and cold peel?
Hot peel means removing the carrier while the transfer is still warm, which suits some films and speeds up production. Cold peel means waiting until it cools, which generally gives cleaner edges and better adhesion. Follow your supplier's guidance, because the film type decides which is correct.
Do I need a commercial heat press for DTF?
A home press can work for small volumes if it holds temperature and pressure consistently. The limitation is usually even pressure across the platen and recovery time between jobs. For steady production, a press with reliable temperature control pays for itself quickly in fewer failed prints.
The Takeaway
Most DTF failures aren't dramatic. They're the result of one skipped pre-press, a slightly damp sheet of film, or a press that never quite recovered its heat. Fix those small habits and the format becomes remarkably reliable, which is exactly why so many small shops have built their business around it.