
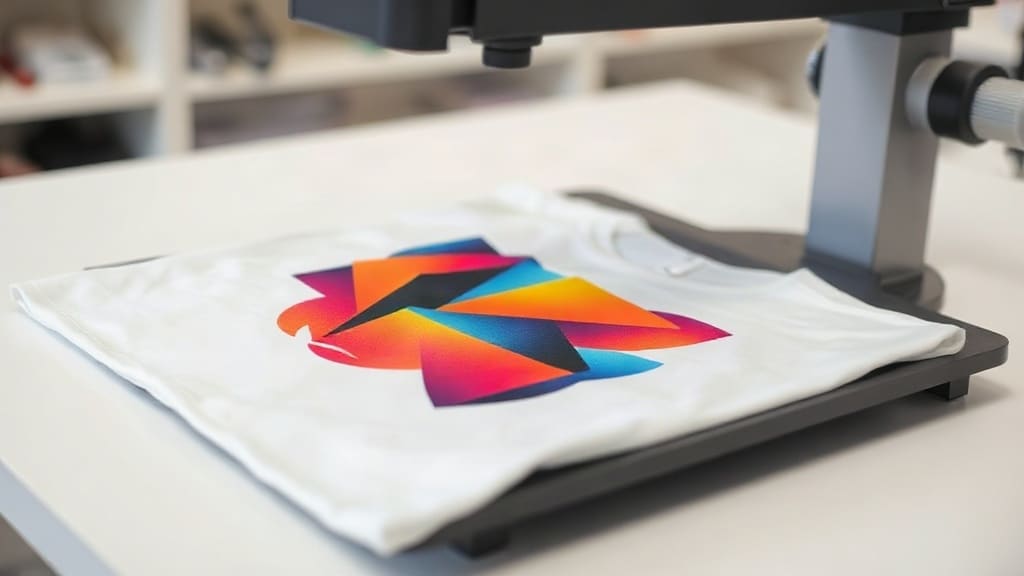
Custom printing has evolved rapidly, and one method stands out for its versatility and quality: dtf transfers. Whether you're a small business owner, a hobbyist, or just curious about modern printing, this guide will walk you through what DTF transfers are, how they work, and why they might be the perfect choice for your next project.
DTF, or Direct to Film, is a printing technique that involves printing your design onto a special film, applying adhesive powder, and then heat-pressing it onto fabric. The result is vibrant, durable prints that can be applied to a wide range of materials, from cotton t-shirts to polyester blends. In this guide, we'll dive deep into the process, the equipment you need, and the secrets to getting professional results every time.
What Are DTF Transfers?
dtf transfers are pre-printed designs on a film that you can heat-press onto garments. Unlike screen printing, which requires screens and setup for each color, DTF allows for full-color prints without complicated setup. It's a digital process, similar to printing on paper, but with a special transfer film and adhesive that bonds to fabric.
The beauty of DTF is its simplicity. You create or upload a design, print it with a DTF printer using CMYK and white ink, apply a hot-melt adhesive powder to the wet ink, and then cure the film. When you're ready to transfer, you place the film on the fabric, apply heat and pressure with a heat press, and peel away the film. The design stays on the fabric, soft to the touch and stretchable.
How DTF Transfers Work: Step-by-Step
To get the best results with dtf transfers, understanding the process is crucial. Here's a simple breakdown:
Step 1: Design and Print
First, you need a design. You can create one in graphic software like Adobe Illustrator or Canva. Then, you print it onto a PET film using a DTF printer. These printers are often modified Epson or Ricoh printers that use special pigment inks, including white ink, to print on the film.
Step 2: Apply Adhesive Powder
While the ink is still wet, you sprinkle a special adhesive powder over the printed film. This powder sticks to the ink. You then shake off the excess and pre-cure the film in an oven or with a heat gun to melt the powder into a uniform adhesive layer.
Step 3: Transfer to Fabric
Now, you place the film with the adhesive side down onto your fabric. Apply heat and pressure using a heat press (typically around 320°F to 330°F for 10-15 seconds). Then, peel off the film while it's still hot (hot peel) or after cooling (cold peel), depending on the film and adhesive used.
Step 4: Post-Cure (Optional)
Some prefer to do a quick post-cure press with a Teflon sheet to ensure full adhesion, especially for commercial washes.
Why Choose DTF Transfers?
There are many reasons why dtf transfers have become popular:
- Versatility: You can apply DTF transfers to various fabrics, including cotton, polyester, blends, and even leather or nylon.
- No Screen Setup: Unlike screen printing, there's no need for screens or stencils, making it cost-effective for small runs.
- Full Color and Detail: DTF prints can include gradients, photographic images, and fine details without extra cost.
- Soft Feel: The prints are soft and stretchable, not heavy like some plastisol prints.
- Durability: DTF transfers are known for their excellent washability and resistance to cracking.
DTF vs. Other Printing Methods
To appreciate DTF, it's helpful to compare it with other common methods like screen printing and DTG (Direct to Garment).
DTF vs. Screen Printing
Screen printing is great for large quantities of simple designs with few colors. However, setup costs are high, and each color requires a separate screen. dtf transfers shine for short runs, complex designs, and when you need to print on demand.
DTF vs. DTG
DTG prints directly onto the garment, which works well on white cotton shirts. But for dark garments, DTF often yields better results because it uses a white underbase. DTF also works on more fabric types, including polyester where DTG struggles.
Equipment and Materials You Need
Starting with DTF requires some investment, but it's less than screen printing. Here's a checklist:
- DTF Printer: You can convert a standard inkjet printer (like Epson ET series) or buy a dedicated DTF printer.
- DTF Inks: CMYK plus white ink. For white ink, you'll need a circulation system to prevent clogs.
- PET Film: The carrier film for printing.
- Adhesive Powder: Hot-melt powder that activates during transfer.
- Heat Press: Essential for applying transfers.
- Oven or Curing Unit: To pre-cure the powder.
Tips for Perfect DTF Transfers
Getting professional results takes practice. Here are some actionable tips:
- Use High-Quality Designs: Since DTF is digital, your print quality depends on your image resolution. Use at least 300 DPI.
- Calibrate Your Printer: Ensure your colors are consistent by regularly running nozzle checks and cleaning.
- Shake Off Excess Powder Thoroughly: Excess powder can cause a rough texture or adhesive on the film's background.
- Adjust Press Settings: Different fabrics may need different temperature and pressure. Always test on a sample first.
- Peel at the Right Time: Follow the manufacturer's instructions for hot or cold peel. Some films peel best hot, others cold.
- Post-Press with a Teflon Sheet: This helps push the adhesive into the fabric and increases durability.
Common Mistakes to Avoid
Even experienced printers make mistakes. Here are some to watch out for:
- Overcuring: Too much heat can yellow the film or damage the fabric.
- Undercuring: If the powder isn't fully melted, the transfer may not stick well.
- Incorrect Film Placement: Always place the film with the printed side up? Actually, the adhesive side down. It's easy to get confused.
- Not Shaking Ink Bottles: White ink settles; always shake before use.
Frequently Asked Questions
Can I use DTF transfers on dark colored shirts?
Absolutely. One of the biggest advantages of dtf transfers is their ability to print on dark fabrics. The white ink layer acts as a base, so your design pops regardless of the garment color.
How many washes can DTF transfers withstand?
With proper application and care, DTF prints can last 50+ washes without significant fading or cracking. To extend longevity, wash garments inside out in cold water and avoid bleach.
Do I need a special printer for DTF?
Yes, you need a printer that can handle DTF inks, especially white ink. Many people convert Epson printers, but there are also dedicated DTF machines available. It's crucial to have a system that prevents white ink from settling.
How much does it cost to start a DTF business?
Startup costs can range from $2,000 to $10,000 depending on the equipment quality. This includes the printer, heat press, film, inks, and powder. It's a significant investment, but you can recoup costs quickly if you sell prints.
Can I use DTF transfers on materials other than cotton?
Yes, DTF works on cotton, polyester, nylon, leather, and blends. However, always test on a small area first because synthetic fabrics may need lower temperatures to avoid melting.
Conclusion
dtf transfers offer a flexible, affordable, and high-quality solution for custom apparel printing. Whether you're creating a few shirts for a family reunion or launching a clothing line, DTF provides the ease of digital printing with the durability of traditional methods. By following the steps and tips in this guide, you'll be well on your way to producing stunning prints. So, gather your materials, design something amazing, and start pressing!