
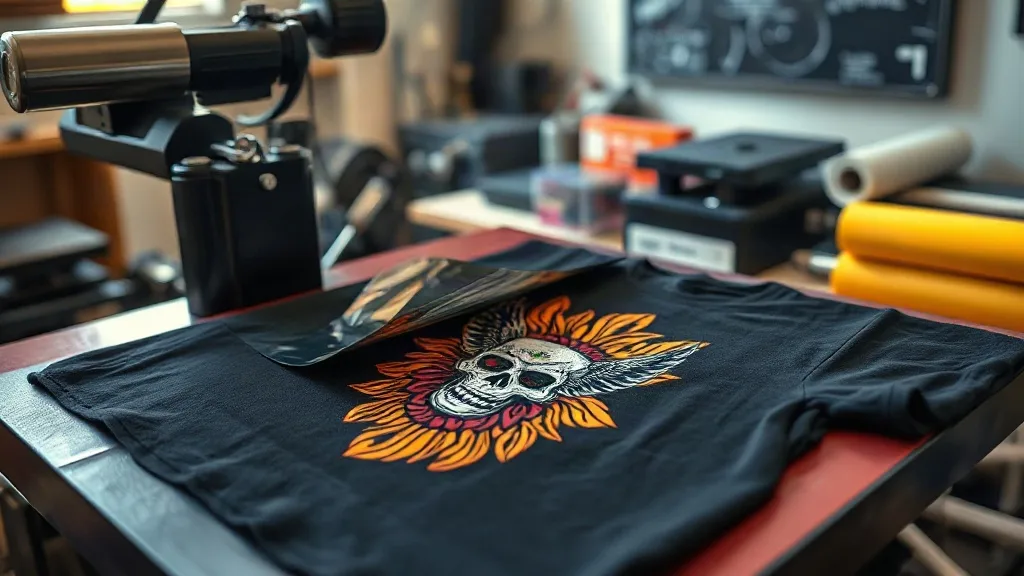
If you have been exploring custom apparel printing lately, you have likely come across the term dtf. Direct-to-film printing is quickly becoming a favorite among hobbyists and professionals alike, thanks to its versatility and stunning results. Unlike older methods that require specific fabrics or complicated setups, dtf transfers offer a straightforward way to bring your designs to life on almost any material. In this guide, I will walk you through everything you need to know to get started, from the basic process to pro-level tips that make a real difference.
What Exactly Are DTF Transfers?
At its core, dtf printing involves printing your design onto a special film, coating it with a hot-melt adhesive powder, and then transferring it onto your chosen fabric using a heat press. The magic lies in the film: it holds the ink and adhesive, allowing the design to bond permanently with the fabric when heat and pressure are applied. This method works on cotton, polyester, blends, and even tough materials like canvas and denim. That flexibility is a game-changer if you work with a variety of garments.
What sets dtf transfers apart from other techniques is the ability to produce full-color, photographic-quality images without weeding or layering. You can print intricate details, gradients, and fine lines that would be impossible with vinyl. Plus, the prints are stretchable and durable, meaning they hold up well to repeated washing and wearing.
How the DTF Process Works Step by Step
Understanding the workflow helps you troubleshoot issues and achieve consistent results. Here is a breakdown of the key stages.
1. Design Preparation
Start with a high-resolution image. Vector files are ideal, but 300 DPI PNGs work well too. Remember that the final print will mirror your design, so if you have text, make sure to flip it horizontally before printing. Also, consider the color of the fabric: DTF inks are vibrant, but printing on dark colors may require a white underbase for opacity. Most RIP software handles this automatically, but it is something to keep in mind.
2. Printing onto Film
Load your DTF film into a dedicated DTF printer. These printers use special inks (often pigment-based) that are formulated to adhere to the film and later to the adhesive powder. The printer lays down a layer of white ink first (if needed), followed by CMYK colors. The white layer acts as a base, ensuring that colors pop on dark garments. After printing, the film is dusted with a fine adhesive powder, which is then melted using a heat source (like a heat press or a powder shaker) to create a smooth, tacky surface.
3. Transferring to Fabric
Once the film is prepared, it is time to press. Set your heat press to around 160°C (320°F) for 10-15 seconds with medium pressure. Place the film on the fabric with the adhesive side down, cover it with a protective sheet, and press. After pressing, let it cool completely before peeling the film away. You can do a hot peel or cold peel depending on the film type, so check your supplier's recommendations.
Why Choose DTF Over Other Printing Methods?
You might wonder how dtf transfers compare to screen printing, DTG, or vinyl. Here is a quick comparison:
- Versatility: Works on almost any fabric, including blends and treated materials.
- Detail: Captures fine lines, gradients, and photographic images with ease.
- Durability: Prints stretch with the fabric and resist cracking and fading.
- Cost-effective for small batches: No setup fees or minimums, making it perfect for custom orders.
- Speed: Once the film is ready, pressing takes seconds per item.
That said, DTF does have a slightly higher cost per print for large runs compared to screen printing, and the feel of the print is a bit thicker than DTG. But for many small businesses and crafters, the benefits far outweigh the drawbacks.
Common Challenges and How to Overcome Them
Like any printing method, DTF has its quirks. Here are some issues you might encounter and how to fix them.
Adhesive Powder Not Melting Properly
If the powder remains grainy after heating, your temperature might be too low or the heating time too short. Increase the temperature slightly or extend the melting time. Also, ensure the powder is evenly distributed; too much powder can lead to a rough texture.
Print Cracking After Washing
Cracking usually indicates insufficient pressure or incorrect peeling. Make sure your heat press applies even pressure across the entire design. Also, try cold peeling instead of hot peeling; sometimes hot peeling pulls the adhesive before it has fully set. Washing the garment inside out in cold water and avoiding bleach will also extend the print's life.
Colors Looking Dull
Dull colors often result from a lack of white underbase or using too little ink. Check your printer settings to ensure the white layer is being printed. If you are printing on dark fabric, you may need to increase the white ink density or print two layers of white.
Tips for Stunning DTF Results
After countless trials in my own shop, I have picked up a few tricks that consistently deliver professional-looking prints.
- Use quality film and powder: Cheaping out on materials leads to frustration. Invest in reputable brands; your customers will notice the difference.
- Maintain your printer: DTF printers require regular cleaning and maintenance. Clogged nozzles ruin prints, so run daily nozzle checks and clean the capping station.
- Test your settings: Every heat press is different. Invest in a heat gun or temperature strips to verify your press's actual temperature. A few degrees can make or break the transfer.
- Store films properly: Keep unused film in a cool, dry place away from direct sunlight. Humidity can affect the film's performance.
- Practice with small designs: Before tackling a large, intricate design, practice with smaller ones to dial in your process.
Frequently Asked Questions About DTF Transfers
Can I use DTF transfers on 100% polyester?
Absolutely. DTF works wonderfully on polyester, including athletic wear and jerseys. The key is to use a lower temperature (around 150°C) and lighter pressure to avoid scorching the fabric. Also, polyester can be sensitive to heat, so test on a scrap piece first.
How long do DTF prints last?
With proper application and care, DTF prints can last as long as the garment itself. They withstand dozens of washes without fading or cracking. To maximize longevity, wash inside out in cold water and tumble dry low or hang dry.
Do I need a special printer for DTF?
Yes, you need a DTF printer that uses DTF inks and can handle the film. However, you can also buy pre-printed DTF transfers from suppliers if you prefer not to invest in a printer. This is a great option for those who want to test the waters before committing to the equipment.
What is the difference between DTF and DTG?
DTG (direct-to-garment) prints directly onto the fabric, while DTF involves printing onto a film and then transferring. DTF works on more fabric types, including blends and treated surfaces, whereas DTG is primarily for cotton. DTF also tends to have more vibrant colors on dark garments.
Can I layer DTF transfers?
Yes, you can layer DTF transfers to create multi-color or multi-texture designs. Just press the first layer, let it cool, then apply the second layer on top. Use a protective sheet between layers to prevent sticking.
Final Thoughts
DTF printing has opened up a world of possibilities for custom apparel. Whether you are a small business owner, a hobbyist, or someone looking to add a new service, mastering dtf transfers can set you apart. The learning curve is gentle, and the results are impressive. Remember to start with quality materials, dial in your heat press settings, and practice. Before long, you will be producing prints that look and feel professional. If you are ready to dive in, explore the resources and supplies available at DTF Worlds to get started on the right foot.