
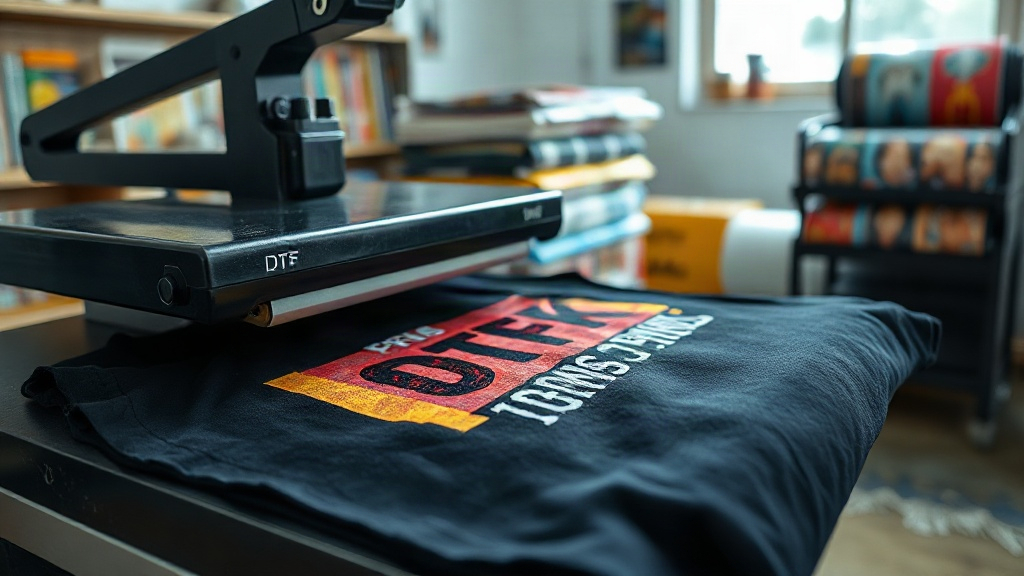
If you've been exploring custom apparel printing, you've likely encountered DTF Transfers. Unlike traditional methods that require specific fabrics or extensive setup, DTF (Direct-to-Film) transfers offer a versatile and accessible solution for bringing vibrant designs to life. Whether you're a hobbyist or a small business owner, understanding DTF transfers can open up a world of possibilities. In this guide, I'll walk you through the entire process, share practical tips from my own experience, and help you avoid common pitfalls.
What Are DTF Transfers?
DTF Transfers are a type of heat-applied transfer that uses a special film to carry your design. The process involves printing your artwork onto a PET film using specialized inks, dusting it with a hot-melt adhesive powder, and then curing it. Once cured, the transfer is ready to be pressed onto a garment with a heat press. The result is a soft, stretchable print that adheres well to a variety of fabrics, including cotton, polyester, and blends.
What sets DTF apart from other methods like DTG (Direct-to-Garment) or screen printing? For starters, DTF doesn't require pre-treatment of the fabric, and it works on dark and light colors alike. Plus, the setup cost is relatively low, making it ideal for small batches and custom orders.
Why Choose DTF Transfers?
There are several compelling reasons to consider DTF Transfers for your next project:
- Fabric versatility: DTF works on cotton, polyester, blends, and even some synthetic materials. It's a go-to for tricky fabrics like nylon or leather.
- No weeding or masking: Unlike vinyl, DTF transfers come ready to press with no tedious cutting or weeding.
- Vibrant colors: DTF inks produce bright, opaque prints that stand out on any background.
- Durability: When applied correctly, DTF prints withstand repeated washing without cracking or fading.
- Cost-effective for short runs: No screens or plates needed, so you can profitably print one-off designs.
From my own experience, DTF has been a game-changer for printing on dark polyester jerseys. The colors pop, and the prints stay put even after multiple washes.
The DTF Transfer Process Step by Step
Let's break down the process from start to finish.
1. Design Preparation
Start with a high-resolution image. Vector files are best, but 300 DPI PNGs work well too. Remember that DTF prints are opaque, so you don't need to worry about background colors. However, if your design has fine details or gradients, ensure they're clean and well-defined.
2. Printing
Your design is printed onto a special PET film using a DTF printer. These printers use white ink as a base and CMYK inks for color. The white layer is crucial for opacity on dark garments. After printing, the film is dusted with a hot-melt adhesive powder, which will bond the print to the fabric.
3. Curing
The powder must be melted and cured. This is typically done in a curing oven or with a heat press. The goal is to melt the powder into a smooth, clear layer. Proper curing ensures the transfer adheres well and lasts long.
4. Pressing
Now comes the application. Set your heat press to the recommended temperature (usually around 300-325°F or 150-160°C) and pressure (medium to firm). Place the transfer on the garment with the film side up, and press for 10-15 seconds. Then, peel the film off while it's still warm (warm peel) or after it cools (cold peel), depending on the film type. Finally, cover with a Teflon sheet or parchment paper and press again for a few seconds to ensure the print is fully embedded.
Common Mistakes to Avoid
Even with a straightforward process, there are pitfalls. Here are some mistakes I've made and how to avoid them:
- Insufficient pressure: If the pressure is too light, the transfer won't adhere properly. Always test your press settings.
- Wrong temperature: Too hot and the film may wrinkle or the print may scorch; too cold and the adhesive won't activate.
- Peeling too soon or too late: Follow the film manufacturer's instructions for peel timing. Warm peel is common, but some films require cold peel.
- Not pre-pressing the garment: Always pre-press for a few seconds to remove moisture and wrinkles.
- Using too much powder: Excess powder can create a rough texture. Shake off any excess before curing.
Tips for Perfect DTF Transfers
After countless trials, I've picked up a few tricks that consistently deliver professional results:
- Test on scrap fabric: Before pressing onto a final garment, do a test press to dial in your settings.
- Use a heat gun for spot checks: If you're unsure about curing, a heat gun can help you see if the powder has melted properly.
- Store transfers properly: Keep unused transfers in a cool, dry place away from direct sunlight. They can last for months if stored correctly.
- Invest in a quality heat press: A reliable press with consistent temperature and pressure is key. Clamshell or swing-away presses both work, but swing-away offers more even pressure.
- Consider a pre-treatment for stretchy fabrics: While DTF is stretchable, adding a stretch additive to the powder can improve elasticity for highly elastic fabrics like spandex.
DTF vs. Other Printing Methods
How does DTF stack up against DTG and screen printing? Here's a quick comparison:
- DTG: Best for 100% cotton, requires pre-treatment, and can be costly for small runs. DTF works on more fabrics and has lower setup costs.
- Screen Printing: Cost-effective for large orders but requires screens and setup. DTF is better for detailed designs and short runs.
- Vinyl: Great for simple designs but limited in color and detail. DTF handles complex, multi-color designs with ease.
In short, DTF is a versatile middle ground that excels in customization and small-batch production.
Frequently Asked Questions
How long do DTF transfers last?
When applied correctly, DTF transfers can last as long as the garment itself. Proper washing (inside out, cold water, no bleach) will extend the life of the print.
Can I use DTF on 100% polyester?
Yes, DTF works well on polyester. However, polyester requires lower pressing temperatures to avoid scorching. Always test first.
Do I need a special printer for DTF?
Yes, you need a DTF printer that uses DTF inks and can handle the film. Some modified inkjet printers can work, but dedicated DTF printers are recommended for best results.
What is the best temperature for pressing DTF transfers?
Most DTF transfers press at 300-325°F (150-160°C) for 10-15 seconds. Always check the instructions provided with your transfers.
Can I stretch DTF prints?
DTF prints have some stretch, but for high-stretch fabrics, consider using a stretch additive or a film designed for stretch.
With this guide, you're well on your way to mastering DTF Transfers. Remember, practice makes perfect, so don't be afraid to experiment. Happy printing!