
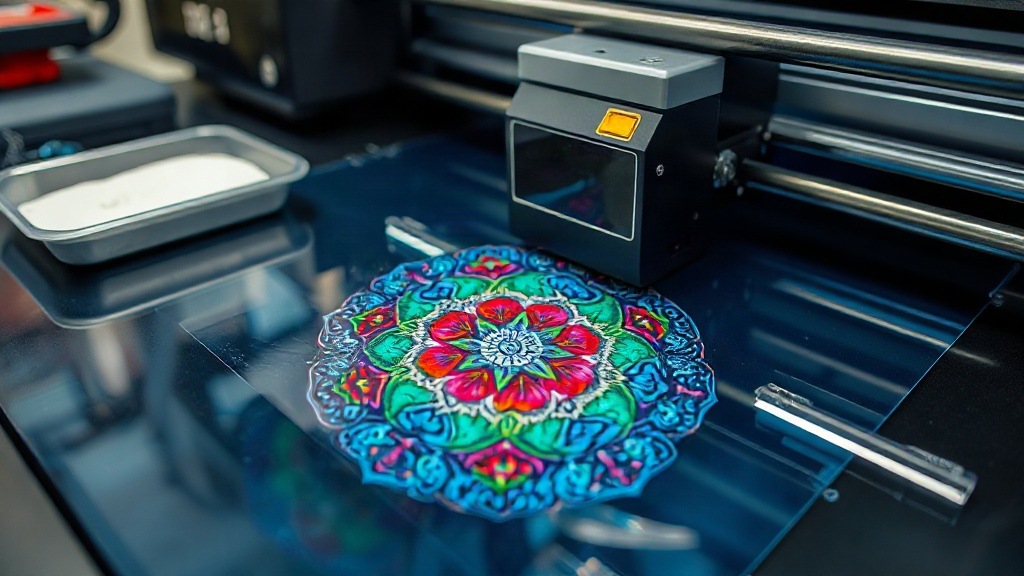
If you've been exploring custom apparel decoration, you've likely encountered DTF printing. Unlike traditional methods that require specific fabrics or extensive setup, DTF (Direct to Film) offers a versatile solution that works on almost any material, from cotton and polyester to blends and even leather. In this guide, I'll walk you through the entire DTF process, sharing practical tips I've gathered from countless hours in my own workshop. Whether you're a hobbyist or a small business owner, understanding DTF can open up new creative and commercial possibilities.
What Exactly Is DTF Printing?
DTF printing is a digital printing technique where your design is printed onto a special film, coated with a hot-melt adhesive powder, and then transferred to fabric using a heat press. The magic lies in its simplicity: no weeding, no cutting, and no pre-treatment of the garment. The result is a soft, stretchable print that withstands repeated washing. I remember my first DTF transfer; I was amazed at how easily it bonded to a dark cotton t-shirt without the plasticky feel of vinyl.
The DTF Printing Process Step by Step
To get consistent results, follow these stages carefully. Each step influences the final quality, so skipping or rushing can lead to disappointing outcomes.
1. Design Preparation
Start with a high-resolution image. DTF printers use CMYK plus white ink, so your design should be in RGB or CMYK mode. If your design has transparent areas, the white ink will act as a base, making colors pop on dark fabrics. I always add a white underbase for any colored areas to ensure opacity. Use raster software like Photoshop or Affinity Photo to prepare your file; vector files can be rasterized at 300 DPI.
2. Printing onto Film
Load your DTF film into the printer, ensuring the coated side faces the printhead. The printer lays down color inks first, followed by a layer of white ink. This white layer is crucial for vibrant transfers on dark garments. After printing, the film will have a wet, glossy appearance. Handle it carefully to avoid smudging.
3. Powder Application
While the ink is still wet, sprinkle hot-melt adhesive powder evenly over the printed area. Gently shake off excess powder; you want a thin, uniform coating. I use a plastic tub and a sieve for this step, which minimizes waste and mess. The powder adheres only to the wet ink, creating the adhesive layer that will bond to the fabric.
4. Curing the Powder
Curing melts the powder into a clear, flexible adhesive. You can use a heat press or a dedicated curing oven. Set your heat press to 160°C (320°F) and press for 2-3 minutes with low pressure. Alternatively, use a conveyor oven at 160°C for 2-3 minutes. The film should look glossy but not burnt. Overcuring makes the transfer stiff; undercuring leads to poor washability.
5. Transferring to Fabric
Set your heat press to 160°C (320°F) with medium pressure. Pre-press the garment for 5 seconds to remove moisture. Place the DTF transfer with the printed side down onto the fabric. Press for 10-15 seconds. For best results, peel the film while it's still warm (warm peel). If you wait until it's cold, the adhesive may stick to the film instead of the fabric. After peeling, cover the print with parchment paper and press again for 5 seconds to smooth the surface.
Why Choose DTF Over Other Methods?
DTF printing shines in several areas:
- Versatility: Works on cotton, polyester, blends, leather, and even wood.
- No weeding: Save hours on intricate designs.
- Durability: Prints withstand 50+ washes when applied correctly.
- Vibrant colors: White underbase allows bright prints on dark fabrics.
- Low setup cost: No screens or plates needed; ideal for short runs.
I've used DTF for everything from team jerseys to custom tote bags, and it consistently delivers professional-looking results.
Common DTF Mistakes and How to Avoid Them
Even seasoned printers run into issues. Here are the most frequent pitfalls and their fixes:
Ink Not Adhering to Film
This usually happens when the film is loaded upside down. The coated side must face the printhead. If you're unsure, breathe on the film; the coated side will show a faint fog.
Powder Not Sticking
If the ink dries before powder application, the powder won't adhere. Work quickly, or increase humidity in your workspace to slow drying. I keep a small humidifier running during long print sessions.
Transfer Peeling After Wash
This indicates undercuring or insufficient pressure during transfer. Ensure your heat press is calibrated; use a infrared thermometer to verify temperature. Also, press with firm pressure and check that the powder is fully melted.
Dull Colors
Without a proper white underbase, colors appear muted on dark fabrics. Always include a white layer in your design. In your RIP software, set the white ink density to 100% for optimal opacity.
DTF vs. DTG vs. Sublimation: Which Is Right for You?
Choosing the right method depends on your fabric and production needs. Here's a quick comparison:
- DTF: Best for cotton and blends, short runs, and intricate designs. Requires powder and curing.
- DTG: Ideal for 100% cotton, but requires pre-treatment and can be slow. Not suitable for polyester.
- Sublimation: Only works on polyester or specially coated items. Colors are permanent but limited to light fabrics.
For a versatile shop, DTF is often the most forgiving and cost-effective.
Essential DTF Supplies and Equipment
To get started, you'll need:
- A DTF printer (e.g., Epson converted or dedicated DTF printer)
- DTF film (cold or hot peel)
- DTF ink (CMYK and white)
- Hot-melt adhesive powder
- Heat press or curing oven
- Heat-resistant tape and parchment paper
I recommend starting with a reputable brand of film and powder; cheap alternatives often lead to clogs and poor adhesion.
Frequently Asked Questions
Can I use DTF on 100% polyester?
Yes, DTF works well on polyester. However, polyester is heat-sensitive, so lower your press temperature to 150°C (300°F) and press for a shorter time to avoid scorching or dye migration. Using a low-temperature powder can also help.
How long does a DTF transfer last?
With proper application and care, a DTF transfer can last 50+ washes. Turn the garment inside out, wash in cold water, and avoid harsh detergents. Tumble dry on low or hang dry.
Do I need to pre-treat fabric for DTF?
No pre-treatment is required for DTF. However, pre-pressing the garment to remove wrinkles and moisture improves adhesion. For heavily textured fabrics, a longer press time may be needed.
What is the best temperature for DTF transfer?
The ideal temperature is 160°C (320°F) for cotton and blends. For polyester, reduce to 150°C (300°F). Always test with a scrap piece first to dial in your settings.
Can I layer DTF transfers?
Yes, you can layer DTF transfers, but it's tricky. Press the first transfer, peel, then press the second on top. Use a lower temperature for the second press to avoid remelting the first. Alternatively, design your artwork with layers in mind to avoid multiple presses.
Mastering DTF printing takes practice, but the freedom it offers is worth the effort. Whether you're printing one-off gifts or building a clothing line, DTF delivers professional results without the complexity of traditional screen printing. Grab some film, fire up your printer, and start creating.