
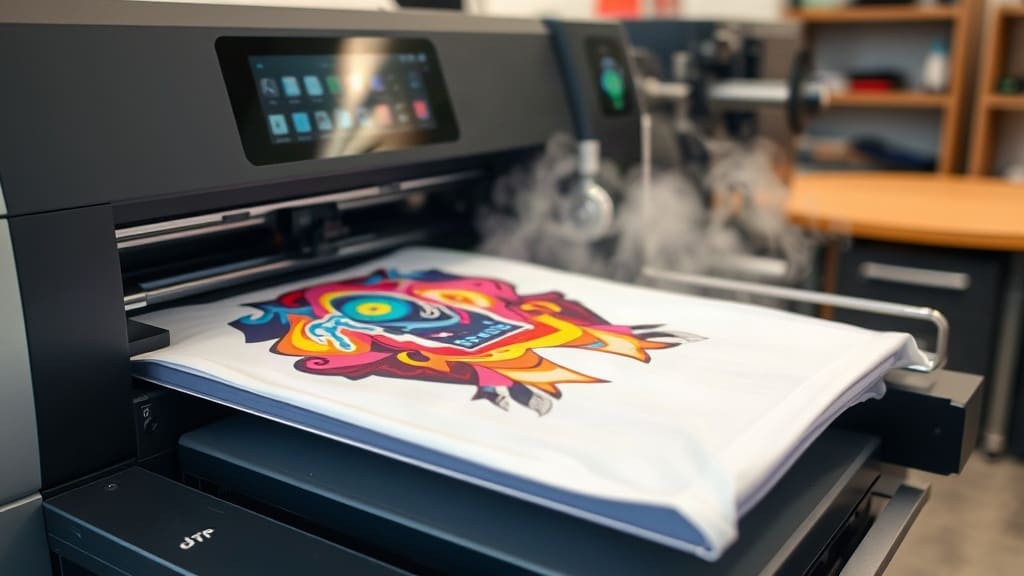
DTF transfers have taken the custom apparel industry by storm, offering a versatile and cost-effective way to create vibrant designs on a wide range of fabrics. Whether you're a seasoned printer or just starting a clothing brand, understanding this technology can be a game-changer. In this guide, we'll break down everything you need to know about DTF transfers, from the printing process to application tips, and why they might be the perfect addition to your business.
What Are DTF Transfers?
DTF stands for Direct to Film. It's a printing method where a design is printed onto a special PET film, coated with adhesive powder, and then heat-pressed onto a garment or other substrate. Unlike traditional heat transfer vinyl, DTF transfers are printed with vibrant, full-color graphics and can be applied to many materials, including cotton, polyester, blends, and even hard surfaces like mugs and tote bags.
How Do DTF Transfers Work?
The process might seem magical, but it's quite straightforward. Let's walk through it step by step.
Step 1: Printing the Design
First, you need a high-quality DTF printer, typically an inkjet printer that uses CMYK plus white ink. The design is printed in reverse onto a special PET film. The white ink serves as an underbase, ensuring that colors pop on dark garments and opaque materials.
Step 2: Applying Adhesive Powder
While the ink is still wet, a hot-melt adhesive powder is applied to the film, covering the printed area. This powder is what will bond the design to the fabric when heat is applied.
Step 3: Curing the Film
The film is then passed through a curing oven or heat tunnel at a specific temperature to melt and activate the adhesive powder. This step is crucial; if not done correctly, the transfer won't stick properly.
Step 4: Pressing the Transfer
Finally, the film is placed on the garment (ink side down) and pressed with a heat press at around 300°F for 10-15 seconds with medium pressure. After peeling off the film, your design is permanently fused to the fabric.
Why Choose DTF Transfers?
There are several reasons why DTF transfers have become so popular among custom apparel makers.
Versatility
Unlike screen printing, which requires a separate screen for each color, DTF can print any number of colors in a single run. This makes it perfect for detailed, colorful designs without the setup hassle.
Cost-Effective for Small Runs
Screen printing has high setup costs, making it economical only for large quantities. DTF transfers have minimal setup, so you can produce one-off items or small batches profitably.
Easy to Apply
If you have a heat press, you can apply DTF transfers without specialized training. This makes it accessible for small businesses and even hobbyists. Plus, you can stockpile printed films and press them on demand.
No Weeding Required
One of the most tedious parts of vinyl is weeding, removing excess material. DTF transfers skip this entirely, saving you hours of labor.
DTF vs. Screen Printing vs. HTV
To truly appreciate DTF, it helps to compare it to other popular methods.
- DTF vs. Screen Printing: Screen printing is ideal for large orders with simple colors, offering durability and low per-unit cost at scale. But DTF wins for small runs, complex designs, and quick turnaround.
- DTF vs. Heat Transfer Vinyl: HTV is limited to single-color layers unless you layer, which is time-consuming. DTF prints full-color images in one step and is more flexible for designs with gradients and photo-quality details.
Materials and Equipment You Need
Getting started with DTF requires a specific setup. Here's what you'll need.
DTF Printer
You can convert some standard inkjet printers to DTF, but for best results, invest in a dedicated DTF printer. These come with CMYK + white ink systems and are built to handle the high viscosity of DTF inks.
PET Film
This is the carrier material. It comes in various widths and thicknesses; choose one that matches your printer's capacity.
Adhesive Powder
Also known as hot-melt powder, this is essential for bonding. It's available in different particle sizes; fine powder works best for detailed designs.
Heat Press
A clamshell or swing-away press that reaches at least 300°F is sufficient. A heat press with even pressure is crucial for a successful transfer.
Top Tips for Perfect DTF Transfers Every Time
Even with the right equipment, there's a learning curve. Here are some practical tips from experienced printers.
Calibrate Your Printer Settings
Ensure your print head alignment and color profiles are correct. Run test prints to adjust ink saturation and white underbase settings to achieve vibrant colors without bleeding.
Use High-Quality Designs
DTF can print intricate details, but the source image must be high resolution (at least 300 DPI). Vector files are ideal.
Master the Powder Application
Apply the adhesive powder evenly. An even shaker or a powder chamber can help. Shake off excess and ensure no bare spots, especially in fine details.
Don't Overcure
Follow the powder manufacturer's instructions for curing temperature and time. Overcuring can make the film brittle, while undercuring leads to poor adhesion.
Test on Similar Fabrics
Different fabrics react differently to heat and pressure. Always do a test press on a scrap piece of the same fabric to dial in your time and temperature.
Common Problems and How to Avoid Them
Even pros encounter issues. Here are solutions to common DTF problems.
Peeling or Cracking
If your design peels off after washing, the adhesive powder might not have been activated properly. Increase the curing temperature slightly or extend the pressing time, but not too much as it can scorch the fabric.
Colors Appear Dull
This usually means the white underbase is too thin. Increase the white ink density in your printer settings. Also, ensure you're using the correct film for your ink type.
Film Sticks to the Garment
Sometimes the film adheres to the shirt instead of peeling away cleanly. This can happen if the press temperature is too high or if the powder wasn't applied correctly. Try lowering the temperature and using a Teflon sheet over the film.
Frequently Asked Questions
How many washes can DTF transfers withstand?
With proper application and care, DTF transfers can last 50 or more washes. To extend the life, wash garments inside out in cold water and avoid using bleach or fabric softeners.
Can DTF transfers be used on dark shirts?
Absolutely. In fact, DTF excels on dark fabrics because the white underbase ensures colors remain vivid. That's one of its biggest advantages over other methods.
What is the difference between DTF and DTG?
DTG (Direct to Garment) prints directly onto the shirt, while DTF prints onto a film first. DTF is often more versatile because it can be applied to many materials and doesn't require pretreatment on 100% cotton.
Do I need special software to create DTF prints?
You can use standard design software like Adobe Photoshop or Illustrator. Some DTF printers come with their own RIP software that helps manage color profiles and print settings. For best results, learn how to use a RIP to optimize print quality.
Is DTF printing eco-friendly?
DTF does use certain chemicals in the process, but many inks are water-based and more eco-friendly than plastisol used in screen printing. Always choose reputable suppliers who follow safety and environmental regulations.
Final Thoughts
DTF transfers are an excellent investment for anyone looking to expand their custom apparel offerings. They offer a unique combination of versatility, ease of use, and cost-effectiveness that appeals to small businesses and large manufacturers alike. By understanding the process, equipping yourself with the right tools, and applying the tips we've shared, you'll be well on your way to producing stunning, durable prints that your customers will love. Embrace the future of garment decoration and start experimenting with DTF today.